How to fit a 321 Bakelite Wall Telephone
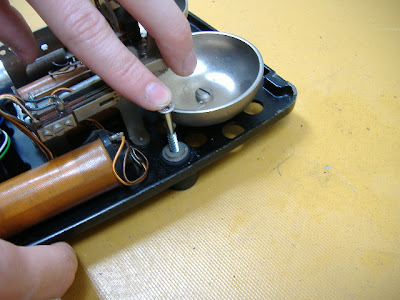
1) The first step is to loosen the retaining screw at the bottom of the Bakelite case (using a flat bladed screwdriver). |
| Bakelite Wall Telephone |
2) Next carefully lift the Bakelite case up off the 321 telephone from the bottom and slide the case gently up as shown below. The case hangs on two metal clips at the top of the bakelite case.
3) Note: The Bakelite case is attached to the telephone body via a strap to prevent it falling to the floor and breaking. Do not remove this strap.
4) You can now position your antique telephone against the wall and fasten it to the wall through the four holes in the telephone case, using the appropriate screws as shown below.
Note: Remember to make sure you have a telephone socket within easy reach of the length of the telephone line cord.
5) Use the correct screws and fastenings for the type of wall (wood, plaster, etc)
6) Although there are four holes in the feet of the telephone (two at the top and two at the bottom) you can sometimes manage with three provided the wall is level. However be very careful. If you want to use these wallphones as Escape Room telephone intercoms there are a number of ways of doing this. One solution is to use a device known as "Exchange in a Box", this is a central “brain,” for two old phones to connected directly together.
7) Once the Bakelite Telephone is securely fitted to the wall you can replace the case on the telephone.
As you can see in the photograph below the bakelite case has two metal clips that fit over the telephone body to "hang" the case on.
8) TIP: Make sure the rubber cable entry grommet for the braided handset cord is located correctly in the Bakelite case as shown below.
9) Finally fasten the retaining screw in the Bakelite base as shown below and plug your line cord into your telephone socket.
10) Provided your Antique Bakelite telephone was restored and converted correctly it should now work and the incoming bell ring should sound fantastic :-)


No comments:
Post a Comment